Vodafone Australia Vodafone Australia
How can we help?
ZTE R205 / Windows 7

ZTE R205

Windows 7
Windows Vista Windows 7 Mac Leopard Mac Snow Leopard
  • Home
  • Device help
  • ZTE
  • R205 / Windows 7
  • Configuration
  • Set up your router for internet manually
  • Parent page

Select help topic

Getting started

Basic use

Configuration

Specifications

swipe-right

Set up your router for internet manually - ZTE R205 / Windows 7

Read help info

Usually, your router automatically uses the necessary settings to connect to the Internet. If this isn't the case, it may help to set up your router for internet manually. Follow these instructions to set up your router for internet manually.

Press and hold On/Off.
Step 1 of 17

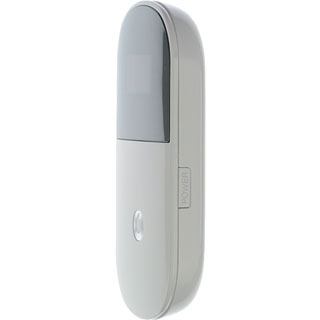
Turn on your router

Press and hold On/Off.
Do the following in Windows:Click the network icon.
Step 2 of 17

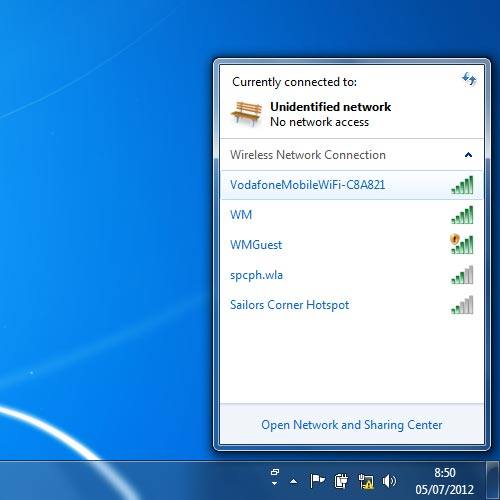
Connect to your Wi-Fi hotspot

Do the following in Windows:
Click the network icon.

You can see the Wi-Fi hotspot name and password by pressing On/Off twice in quick succession.
Highlight the name of your Wi-Fi hotspot and click Connect.
Step 3 of 17

Connect to your Wi-Fi hotspot

Highlight the name of your Wi-Fi hotspot and click Connect.

You can see the Wi-Fi hotspot name and password by pressing On/Off twice in quick succession.
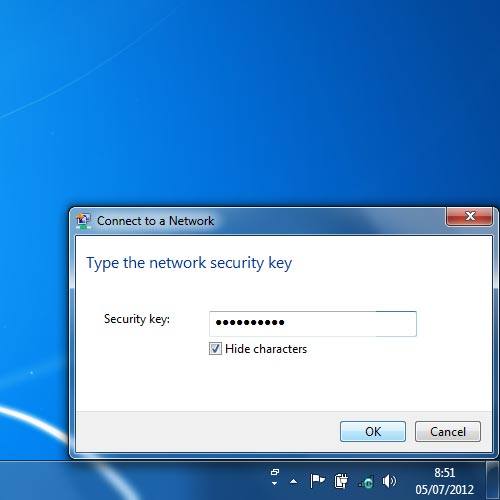
Key in the password for your Wi-Fi hotspot and click OK.A connection to your Wi-Fi hotspot is established.
Step 4 of 17

Connect to your Wi-Fi hotspot

Key in the password for your Wi-Fi hotspot and click OK.
A connection to your Wi-Fi hotspot is established.

You can see the Wi-Fi hotspot name and password by pressing On/Off twice in quick succession.
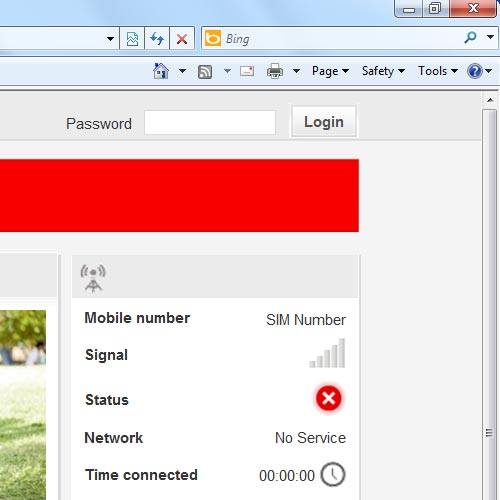
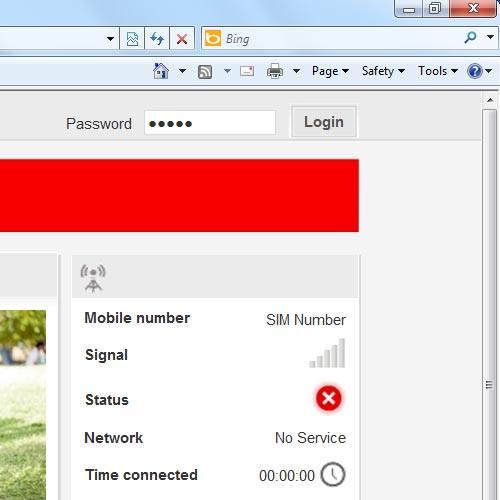
Open a browser window.Key in 192.168.0.1 in the address bar and press Enter.Highlight the field next to Password and key in admin
Step 5 of 17

Connect to the router configuration page

Open a browser window.
Key in 192.168.0.1 in the address bar and press Enter.
Highlight the field next to Password and key in admin

Click Login.
Click Login.
Click Login.
Step 6 of 17

Connect to the router configuration page

Click Login.

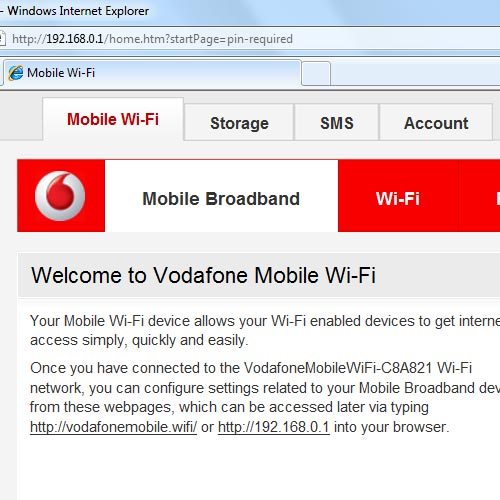
Click Mobile Broadband.
Step 7 of 17

Find "Connection"

Click Mobile Broadband.

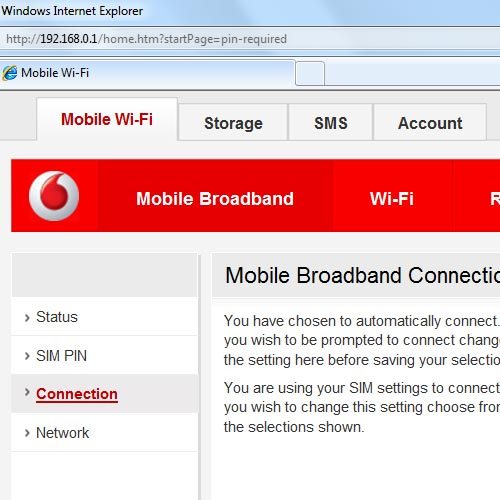
Click Connection.
Click Connection.
Click Connection.
Step 8 of 17

Find "Connection"

Click Connection.

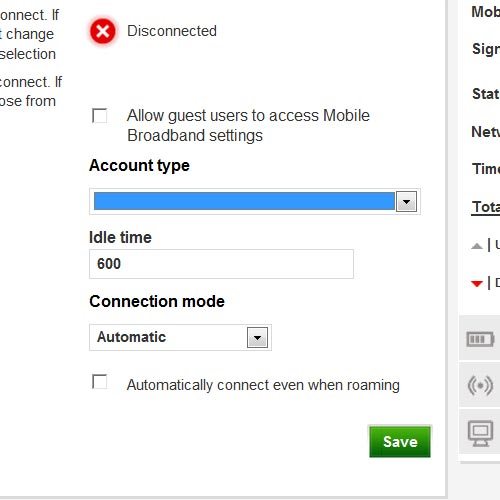
Click the drop down list below Account type.
Step 9 of 17

Create new data connection

Click the drop down list below Account type.

Highlight Custom.
Highlight Custom.
Highlight Custom.
Step 10 of 17

Create new data connection

Highlight Custom.

Highlight the field below APN.If you're on a pay monthly price plan:Key in vfinternet.auIf you're on a pay as you go price plan:Key in vfprepaymbb
Step 11 of 17

Enter APN

Highlight the field below APN.
If you're on a pay monthly price plan:
Key in vfinternet.au
If you're on a pay as you go price plan:
Key in vfprepaymbb

Highlight the field below Number and key in *99#
Step 12 of 17

Enter dial-up number

Highlight the field below Number and key in *99#

Highlight the field below Username and key in web
Step 13 of 17

Enter username

Highlight the field below Username and key in web

If you're on a pay as you go price plan, you need to key in a username.
Highlight the field below Password and key in web
Step 14 of 17

Enter password

Highlight the field below Password and key in web

If you're on a pay as you go price plan, you need to key in a password.
Highlight the field below Confirm Password and key in web
Step 15 of 17

Enter password

Highlight the field below Confirm Password and key in web

If you're on a pay as you go price plan, you need to key in a password.
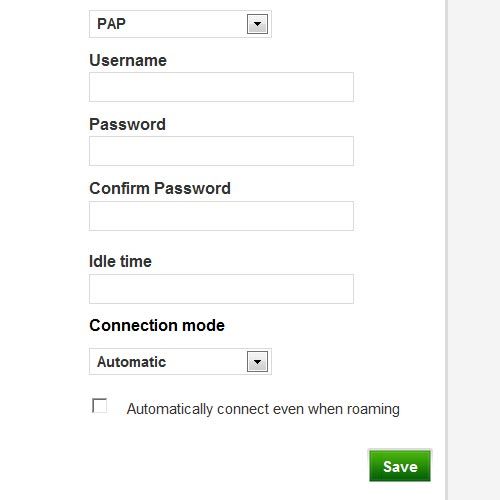
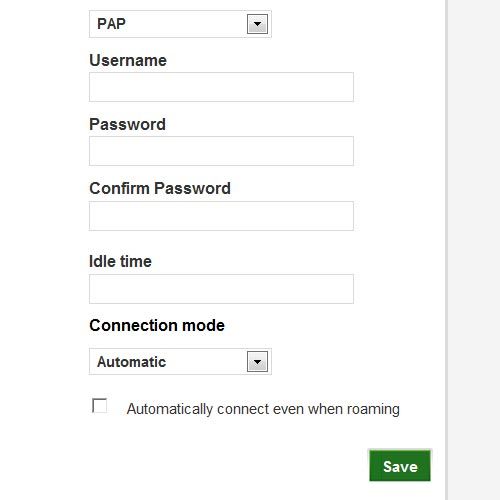
Click Save.
Click Save.
Click Save.
Step 16 of 17

Save and exit

Click Save.

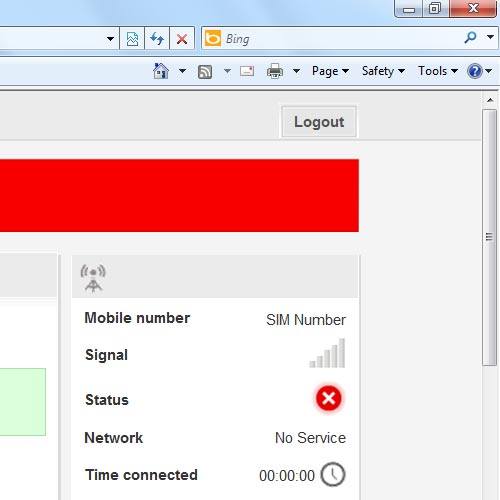
Click Logout.
Click Logout.
Click Logout.
Step 17 of 17

Save and exit

Click Logout.

Turn on your router

Press and hold On/Off.

Connect to your Wi-Fi hotspot

Do the following in Windows:
Click the network icon.
You can see the Wi-Fi hotspot name and password by pressing On/Off twice in quick succession.
Highlight the name of your Wi-Fi hotspot and click Connect.
You can see the Wi-Fi hotspot name and password by pressing On/Off twice in quick succession.
Key in the password for your Wi-Fi hotspot and click OK.
A connection to your Wi-Fi hotspot is established.
You can see the Wi-Fi hotspot name and password by pressing On/Off twice in quick succession.
Connect to the router configuration page

Open a browser window.
Key in 192.168.0.1 in the address bar and press Enter.
Highlight the field next to Password and key in admin
Click Login.
Find "Connection"

Click Mobile Broadband.
Click Connection.
Create new data connection

Click the drop down list below Account type.
Highlight Custom.
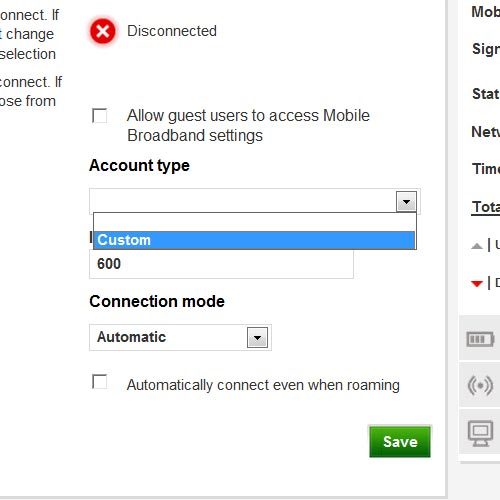
Enter APN

Highlight the field below APN.
If you're on a pay monthly price plan:
Key in vfinternet.au
If you're on a pay as you go price plan:
Key in vfprepaymbb
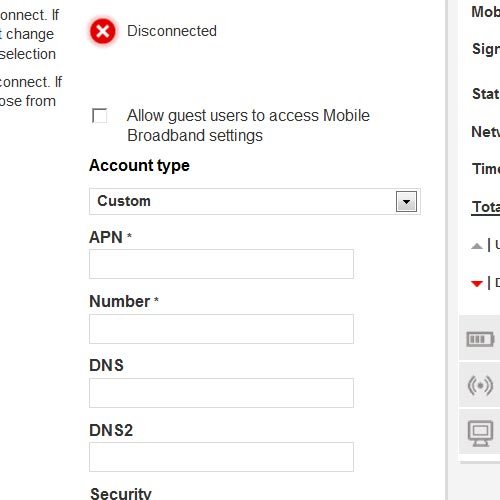
Enter dial-up number

Highlight the field below Number and key in *99#
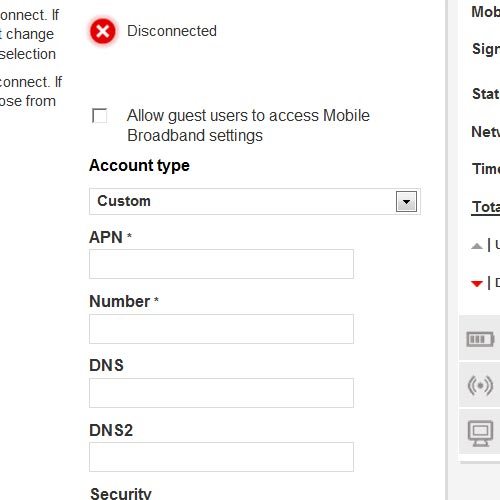
Enter username

Highlight the field below Username and key in web
If you're on a pay as you go price plan, you need to key in a username.
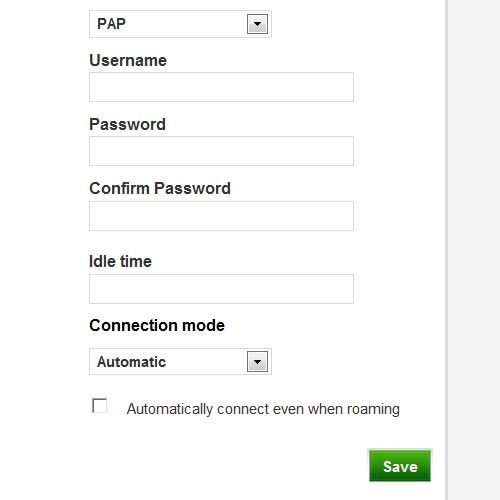
Enter password

Highlight the field below Password and key in web
If you're on a pay as you go price plan, you need to key in a password.
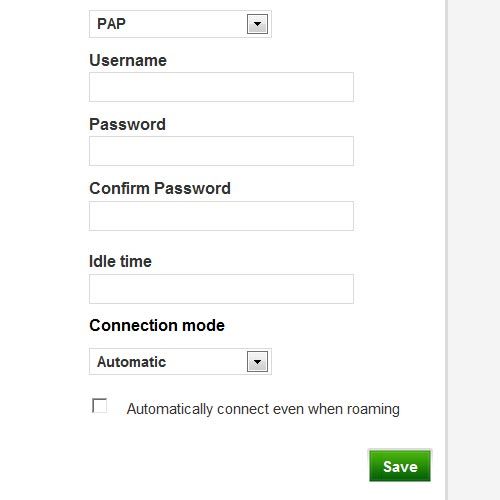
Highlight the field below Confirm Password and key in web
If you're on a pay as you go price plan, you need to key in a password.
Save and exit

Click Save.
Click Logout.
How would you rate your experience?

Thank you for your evaluation!

Get information on...

Or select...

Another device

Are you ready to upgrade your device? Check out our latest mobile phones

© 2025 TPG Telecom Limited ABN 76 096 304 620 We acknowledge the Traditional Custodians of the land on which we live, work and connect. We pay respect to Elders, past, present, and emerging.