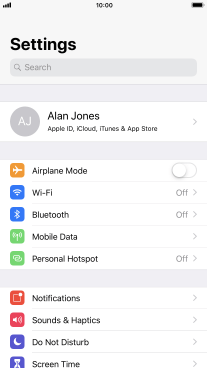
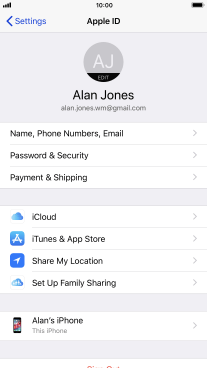
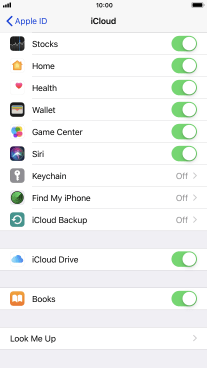
1. Find "iCloud Backup"
Press Settings.
![](http://wmstatic.global.ssl.fastly.net/ml/7100822-f-ac691e00-233e-4124-ac91-6911b6a399b7.png?width=208&height=368)
Press your Apple ID.
![](http://wmstatic.global.ssl.fastly.net/ml/7100822-f-2ef22dda-5bdf-436a-8c57-9ccb251aac1a.png?width=208&height=368)
Press iCloud.
![](http://wmstatic.global.ssl.fastly.net/ml/7100822-f-a22ad33b-0f5b-4856-97ce-f42a32aa5196.png?width=208&height=368)
Press iCloud Backup.
![](http://wmstatic.global.ssl.fastly.net/ml/7100822-f-e5c42b2b-55f6-42d1-86d4-c10e50eb9900.png?width=208&height=368)
2. Turn on automatic iCloud backup
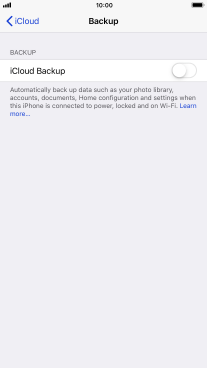
Press the indicator next to "iCloud Backup" to turn on the function.
![](http://wmstatic.global.ssl.fastly.net/ml/7100822-f-6372a712-4007-43f8-a186-60a0e4773942.png?width=208&height=368)
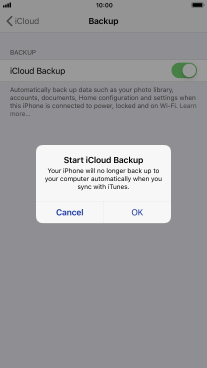
Press OK.
The phone memory will be backed up automatically when your phone is charging, the screen lock is turned on and a Wi-Fi connection is established.
![](http://wmstatic.global.ssl.fastly.net/ml/7100822-f-5bf32b41-7e62-406a-8e8e-f0dcf57ba911.png?width=208&height=368)
3. Back up phone memory to iCloud
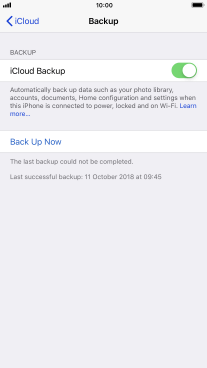
Press Back Up Now and wait while the phone memory is backed up.
![](http://wmstatic.global.ssl.fastly.net/ml/7100822-f-e690325b-4a96-4821-9090-f91c93ccfef7.png?width=208&height=368)
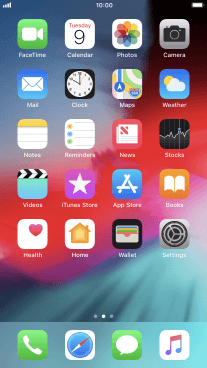
4. Return to the home screen
Press the Home key to return to the home screen.
![](http://wmstatic.global.ssl.fastly.net/ml/7100822-f-e690325b-4a96-4821-9090-f91c93ccfef7.png?width=208&height=368)
How would you rate your experience?
Thank you for your evaluation!
![](/Content/images/design_assets/vf-fb-logo.png)