1. Find "iCloud Backup"
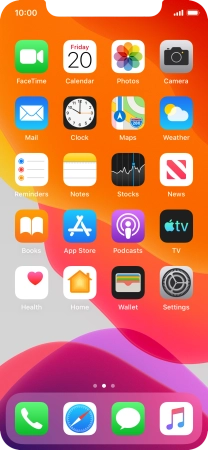
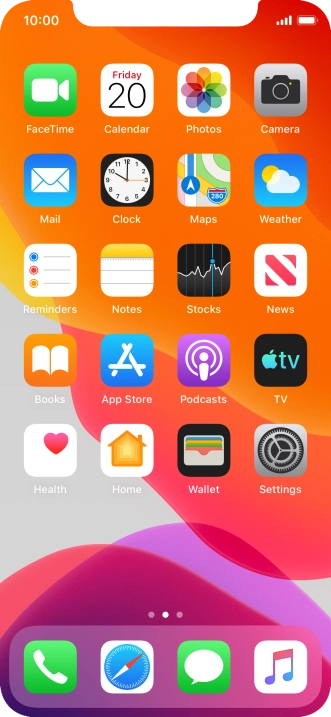
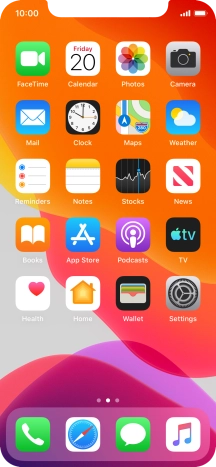
Press Settings.

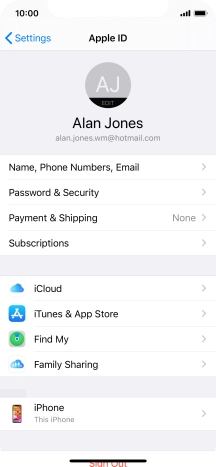
Press your Apple ID.

Press iCloud.

Press iCloud Backup.

2. Turn on automatic iCloud backup
Press the indicator next to "iCloud Backup" to turn on the function.

Press OK.
The phone memory will be backed up automatically when your phone is charging, the screen lock is turned on and a Wi-Fi connection is established.

3. Back up phone memory to iCloud
Press Back Up Now and wait while the phone memory is backed up.

4. Return to the home screen
Slide your finger upwards starting from the bottom of the screen to return to the home screen.

How would you rate your experience?
Thank you for your evaluation!

Do you have any additional feedback?
Thank you for your evaluation!


